
You may have been following the Trinket Quilt top I completed recently, or other quilts and projects on my Instagram feed in the past – I like to paper piece! Not all of my projects are paper pieced, and certainly some projects are much more detailed and complicated than others, but paper piecing is fun because you get a precise block with “perfect” lines. There are a few challenges though…
I know that everyone has a different method of how they paper piece – this is mine.
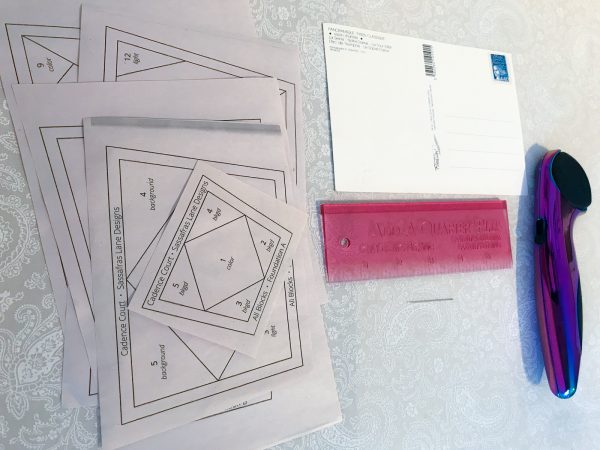
Supplies:
- Foundation Paper (I use newsprint cut in 8 1/2″ x 11″ sheets)
- Paper Piecing Pattern
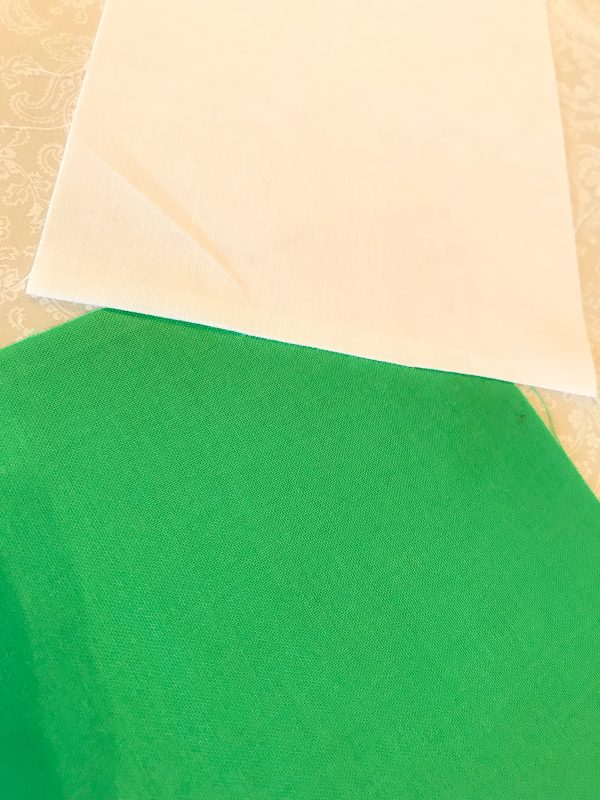
- Fabric
- Rotary Cutter
- Large Postcard
- Add-A-Quarter Ruler
- 3″ x 12″ or 6″ x 12″ Ruler
- Needle – I use a fine needle with a small eye, find a low-profile almost flat needle
- Coordinating Neutral Thread
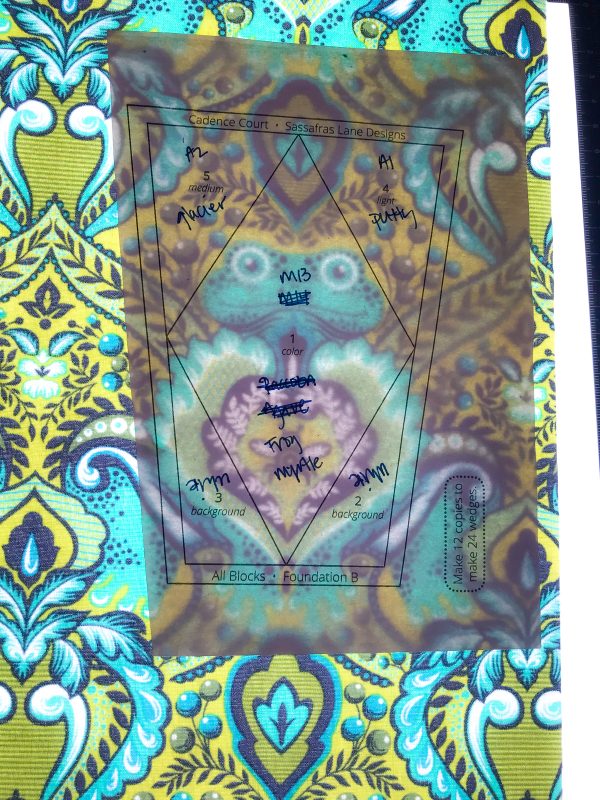
I was working on my Cadence Court Quilt Top with Tula Pink All Stars when I took these photos:

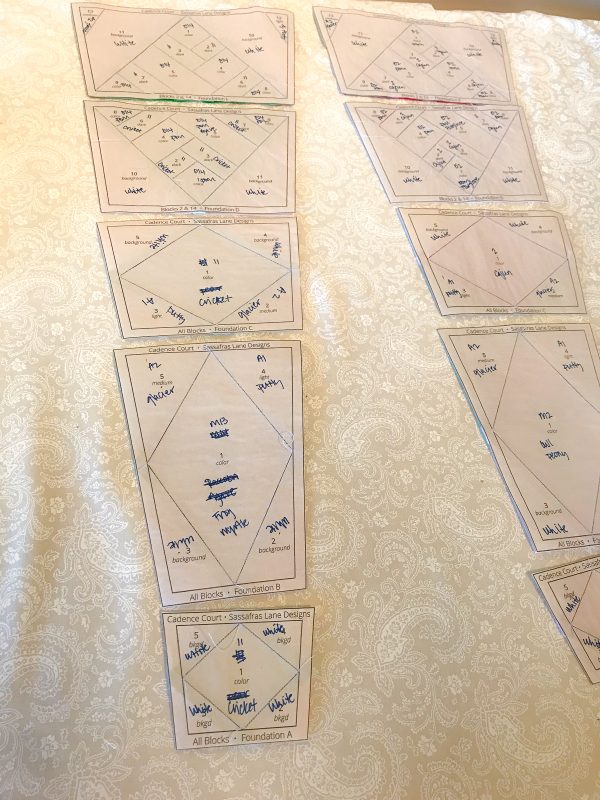
Before you can start you need your Foundation Paper Piecing pattern transferred to foundation paper. If it’s from a book, you will need to photocopy the pattern to the newsprint, or if in PDF format, just print.
Once you have all of your supplies ready, figure out what size fabric strips you need to cut – cut these pieces before you start, it will be easier and faster.
For example: If my finished block is 4 1/2″ wide, if I cut a 5″ strip of fabric, say 1/2 yard of fabric by 5″, that should be enough to cover the desired template area, plus overage past the edge of the newsprint when trimmed down. You don’t want to see newsprint when finished – that means there isn’t enough fabric for the seam allowance!
You will get better with practice, but know that angles are trickier to determine over straight lines, and if your section is a triangle, it will be reversed when ironed, and be off by 1/4″ due to seam allowance. If unsure if you have enough fabric – go bigger. It’s better to have extra than not enough and rip out and try again. Ripping out also significantly reduces the newsprint stability and lines may not be straight anymore.
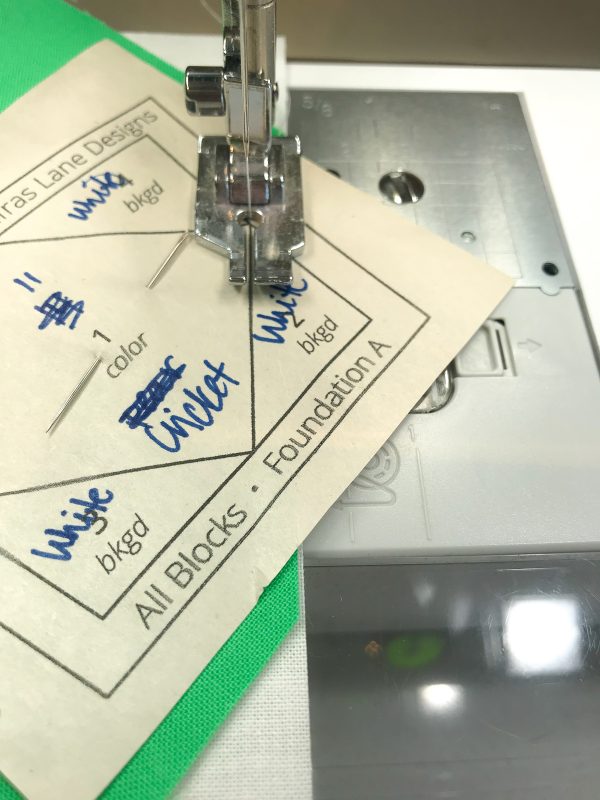
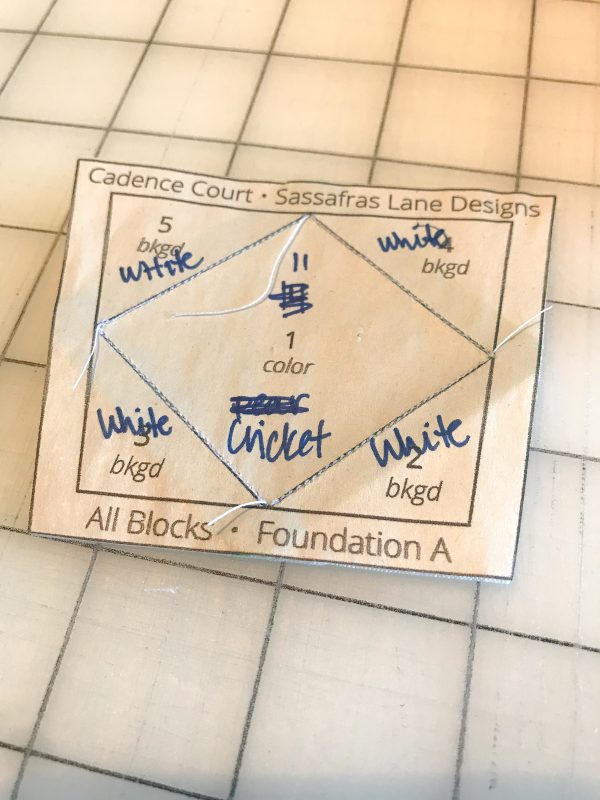
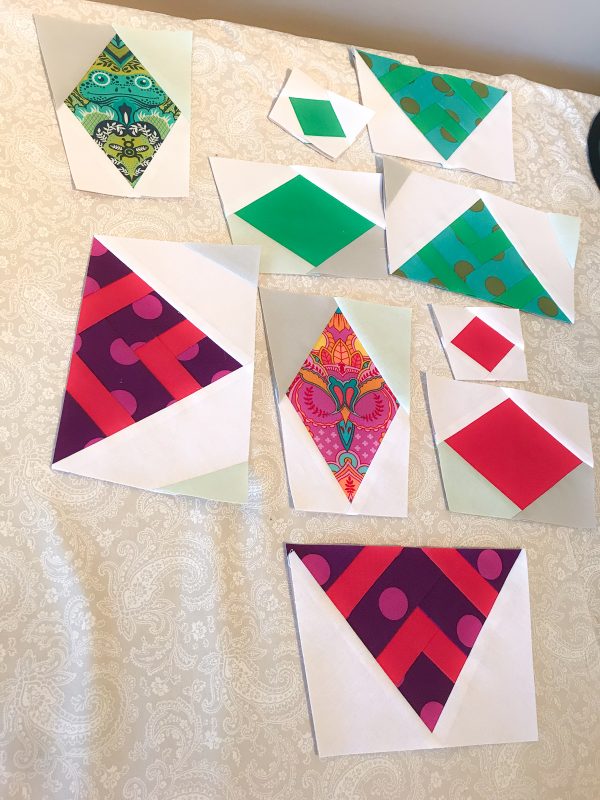
My next step is to separate all the pieces of the block, and label where each fabric will go. This is the back side, the front side will be reversed. But it will be easier as you sew through the block if you have the entire block labeled in advance.
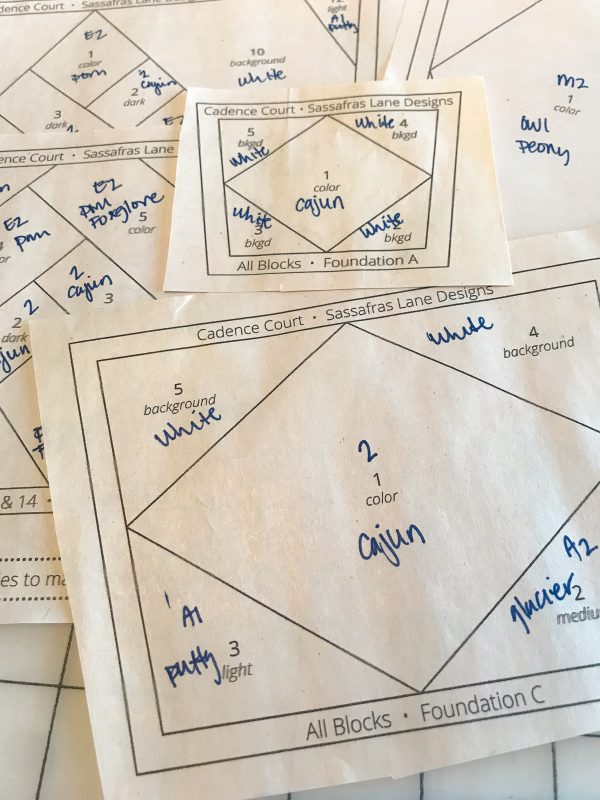
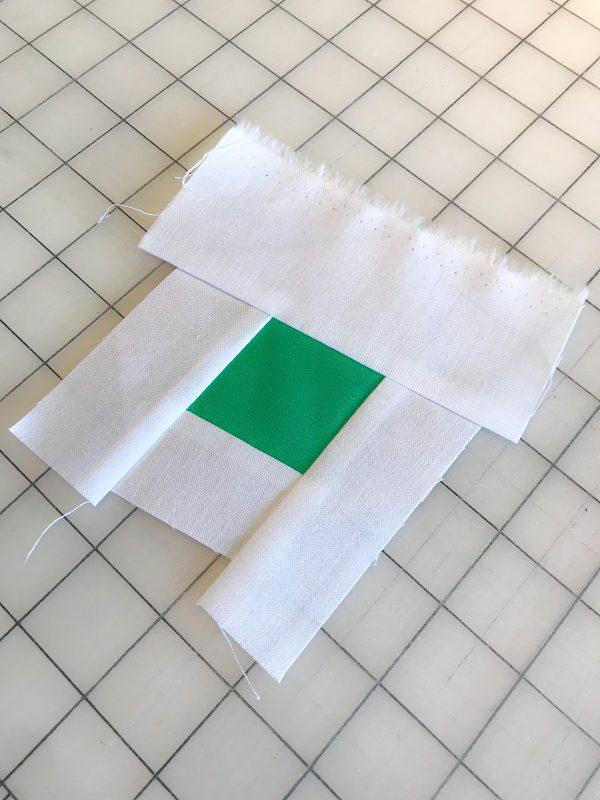
Then begin with number 1, in this case the fabric is Cajun.
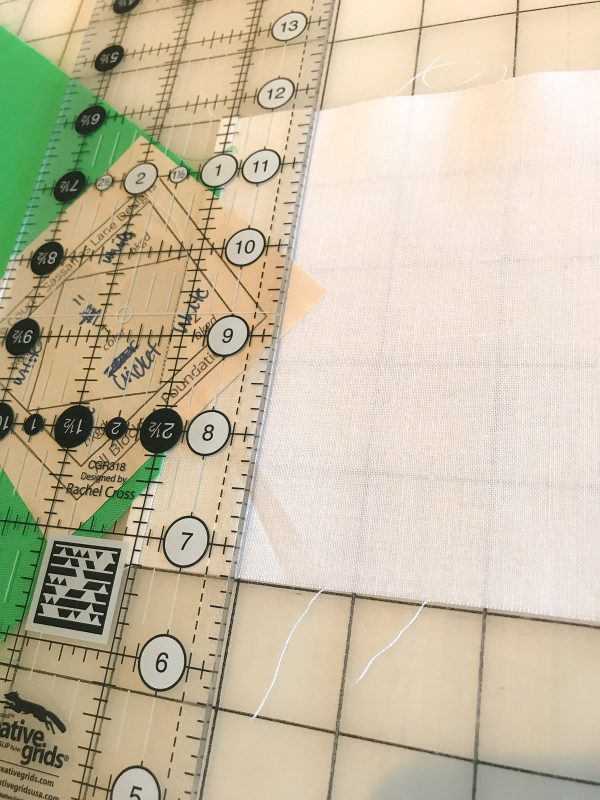
Align the fabric on the paper pieced block section and put a needle through the center of number 1. The most important factor here is that Cajun needs to extend past all of its borders – in this case the center diamond – at least 1/4″ in each direction. The way this is set up is plenty, but a smaller piece would also work.

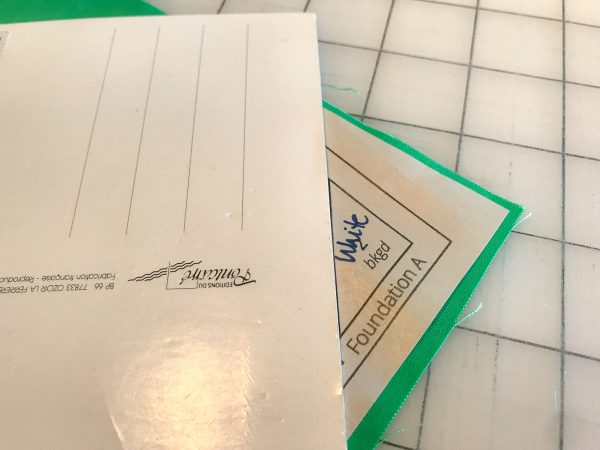
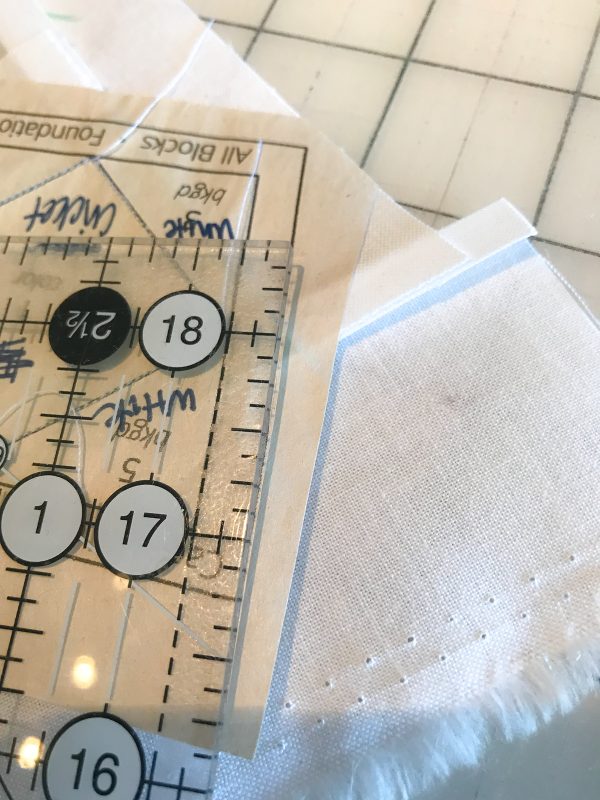
Now take your postcard and place it on the line dividing 1 and 2. Fold the paper over the postcard, add your Add-A-Quarter Ruler to the edge of the postcard, and trim. This is where you line up fabric number 2, White. See the next 4 images:


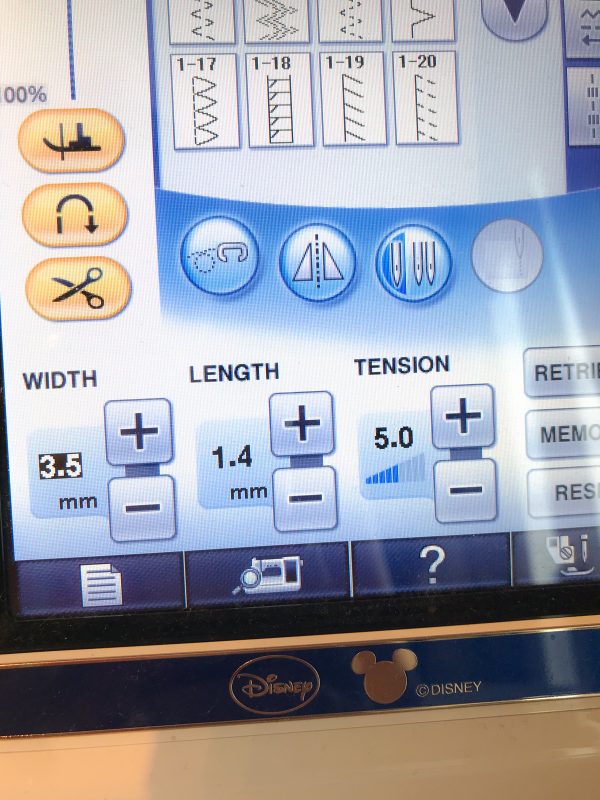
Next: Change the seam length on your machine. I use 1.4 for the length, but your machine may be different. The main thing here is to have enough needle pokes so that the paper will be easier to tear away, but not too difficult to tear out if you need to.
Now align the White fabric along the Cajun line. Flip over and sew ON the line. I start with one stitch forward, one stitch back, one stitch forward – to lock it in, and then continue to the end of the line. And then I backstitch one stitch and then forward again to lock it in, then cut.

Then iron the White back.
There is a lot of White fabric left over so I will trim it down so it is a straight edge and continue. Next is section number 3: do the same as with section number 2 and continue until you are done with this block (next 4 images):
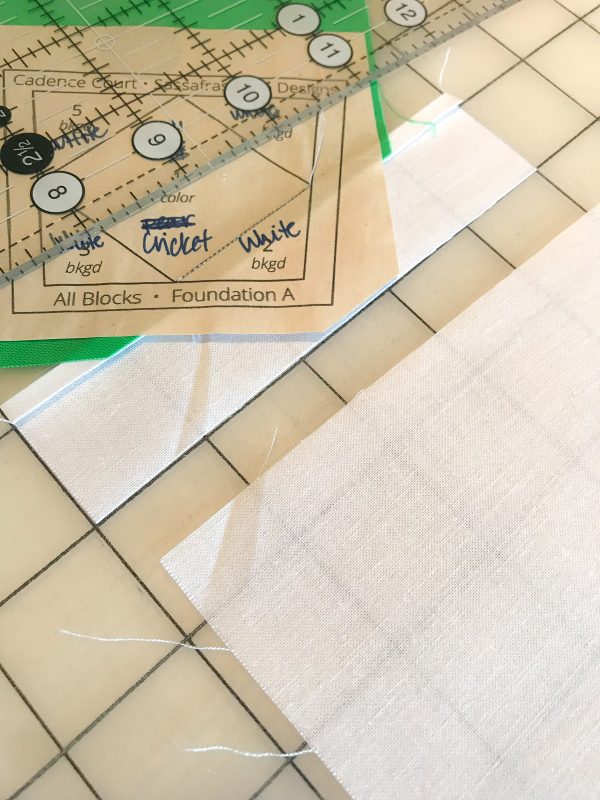

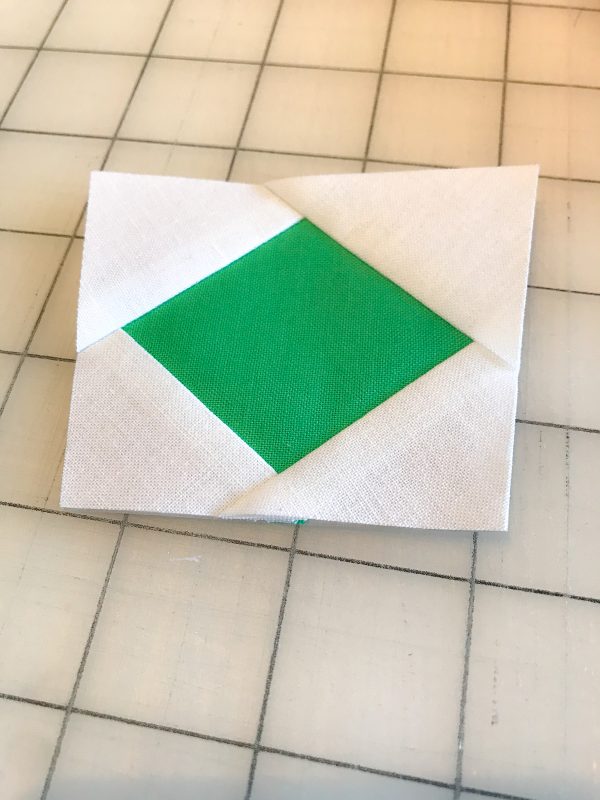
When you are done with this section, trim down to the edge of the block:
Continue the same steps as above for the other pieces to make the complete block. For the focal point of this block, I have a Prince Charming Frog. I would like it centered in the diamond so that it looks nice and planned when finished, not just any part of the fabric. For this section, I am going to take my paper and fabric over to the light table and determine the exact placement of the fabric – and pin it in place. Then I will continue with the rest of the pieces.
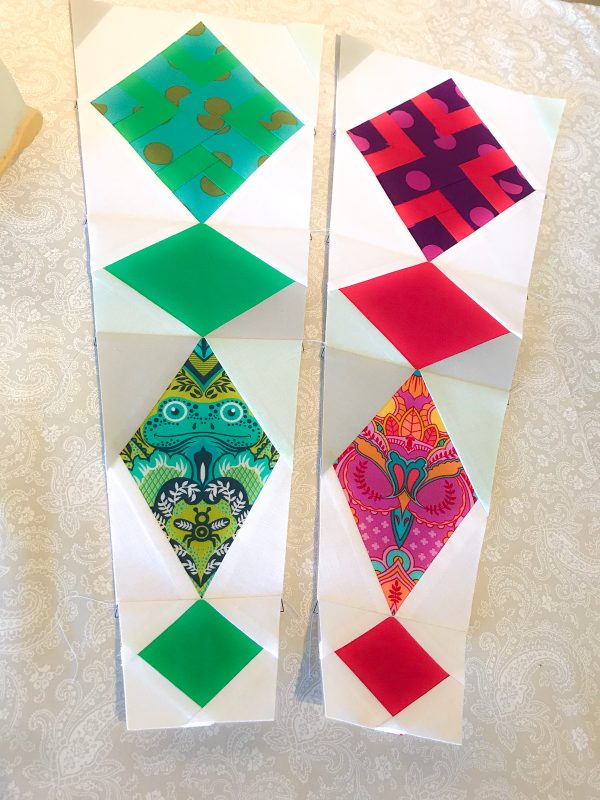
After all the pieces are complete I am ready to sew the block together – in this case it is a wedge with 5 different sections for one complete piece. So I will follow the directions in how to piece them together, A through E, and sew ON the 1/4″ seam line to connect them. I iron my seams open when finished and tear off the newsprint that I just sewed – JUST the 1/4″ piece that is no longer needed. I will keep the rest of the paper intact until I put the whole thing together.
Once I have all 5 pieces sewn together the block is done! Save it in a safe place until you have finished all paper pieced blocks for your quilt and can sew them all together.
I hope you have found this tutorial helpful – and are motivated to try a new paper pieced project!


So clever a way to paper piece using a postcard! Thank you for this tutorial!