I have been doing several new designs on Kitchen Towels lately, some with big, dense designs, others with a lot of text. Some also have appliqué designs with Vinyl or Fleece. Sometimes I wash them to get the back of the wash-away off, and see how they come out of the dryer. They aren’t always so fun when you first see them out of the dryer – but don’t fret!
For my kitchen towels, I primarily use a towel that is 100% cotton – though I have been trying new versions for more variety in texture and color. But this post is about the 100% cotton towels.
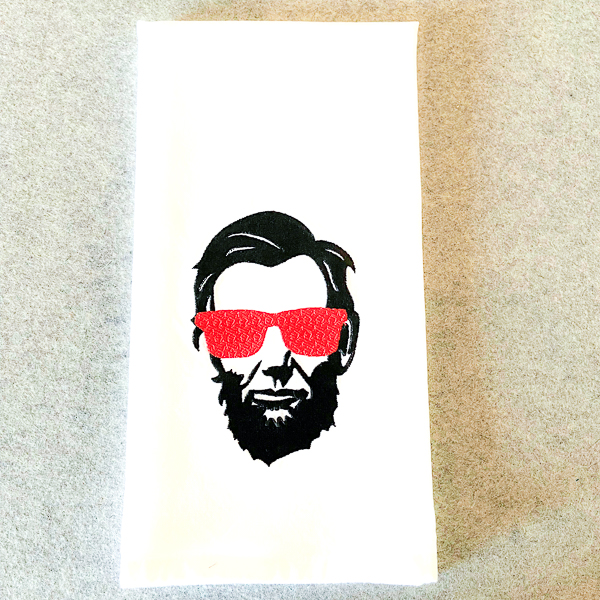
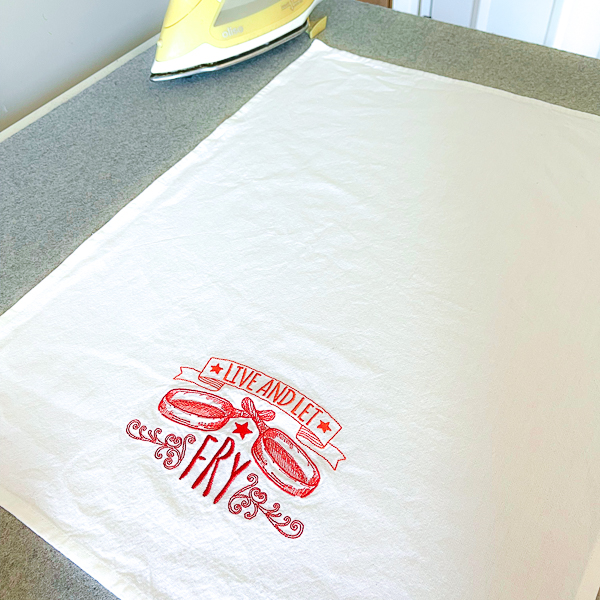
I have photos of two examples below – one with a very dense Lincoln face, the other with a fun, less dense but still scrunched up Live and Let Fry. And as you’ll see, in the end, good as new.
They look a little scary coming out of the dryer. Most of the time I just do a quick iron to the front of the towel, straighten out the edges and the corners, and we’re good to go.
In these instances (as shown below), I start by ironing the design on the back of the towel – iron set to cotton with steam on.
Iron the design portion on the back, maybe a little more if you want, but I stay in the middle of the towel so I don’t iron the hems on the back. Then, I flip it over, iron the front, the edges, the corners, and we’re good!
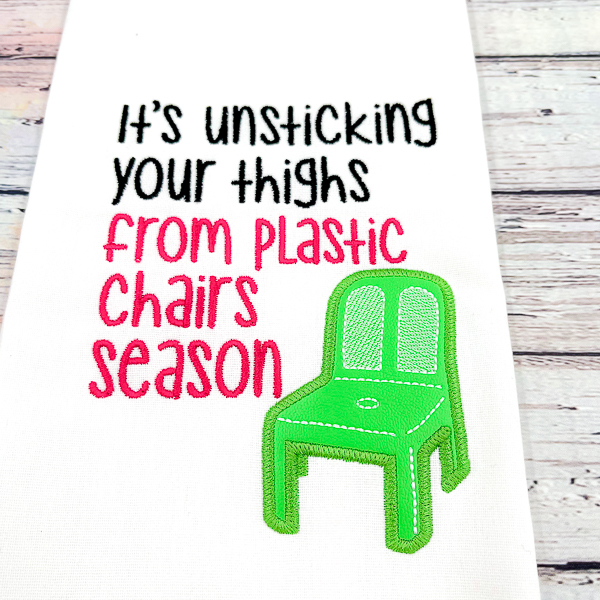
REMEMBER: If the design has vinyl on the front, like the green lawn chair below – DO NOT iron the vinyl on the front. You can iron the back of the design, just keep the iron moving so it doesn’t melt the vinyl. Sometimes I also use fleece, such as the clouds below – I would probably still iron the back of the design on this one, but I’m less concerned about the iron melting the fleece.
Iron the back first, Cotton setting with Steam.Iron the Front.Iron the back first, Cotton setting with Steam.Chair with Vinyl Appliqué – do not iron the chair on the front!Fleece Clouds
Hello there! It’s June, and I haven’t posted in awhile. I apologize for that if you were looking for some updates. Life is just so crazy – all the time – and I need to do better!
Do you embroider – anything – ever? Do you use software, or are you thinking of using software? This is NOT a sponsored post! Not trying to sell you anything, just trying to share some knowledge.
I bought my sewing machine about 10-11 years ago. It had an embroidery component, but I had never embroidered anything before. Wasn’t sure it would be something I would use – I just wanted to sew fabric together. So I tried one day, and then something else, and then I kept going.
After a few months I started looking into software; I was looking at Mac specific software, as I am a Mac. I am NOT a PC unless forced to be a PC. So the same store where I bought my machine, they had software, Mac compatible. I know Embrilliance seems to be a popular choice, and I haven’t tried it so I don’t know much about it – but I do know my software of choice, there isn’t much out there for information on tips and tricks, how to use certain features, etc.
When I was initially looking at software (10-ish years ago), it was very expensive to buy the box, and I think it was called TruEmbroidery, something like that. Then it changed to various levels of Premier, Premier+, Premier+2. About 3 years ago, I dove in and bought the software. I was clueless. I can usually figure out software without too much trouble, but not having any background in this software, or the type of software, I was a little lost. Yes there was a very long PDF download for an owner’s manual. Yes, I found this one website that was supposed to be helpful, but watching the videos, it was like you were a 100-year old person that had never seen a computer before and was painful to get through.
I found another website that told you how to click buttons – I figured that part out already – but not why you were clicking, where to click, what this accomplished, why do you click like this and not like that… I was so frustrated, and those around me that knew I had software couldn’t figure out why I couldn’t just take this super detailed artwork and “click” make a patch for someone – after all there is an auto digitizing function, LOL. After a long time of being frustrated and not finding resources, I went to my old stand-by: Break It and then Fix It. Then you’ll figure it out.
Very slowly, that is working for me. I’ve learned how to do several things – my favorite being import fonts (already digitized embroidery font letters) and not have jump stitches! And Combine and Align. A new favorite.
Let me know if there is any interest in some screen-shot tutorials of some basic things. I use MySewNet – there is a steep learning curve and I haven’t even tried everything yet, but I like it. Again not a sponsored post. The software is available for Mac and PC – there are more modules available on the PC so I have to use those on my Surface, but I do all the font work, combine and align, and more on my Mac.
I made these cuties with the software – they all have names.
You may have been following the Trinket Quilt top I completed recently, or other quilts and projects on my Instagram feed in the past – I like to paper piece! Not all of my projects are paper pieced, and certainly some projects are much more detailed and complicated than others, but paper piecing is fun because you get a precise block with “perfect” lines. There are a few challenges though…
I know that everyone has a different method of how they paper piece – this is mine.
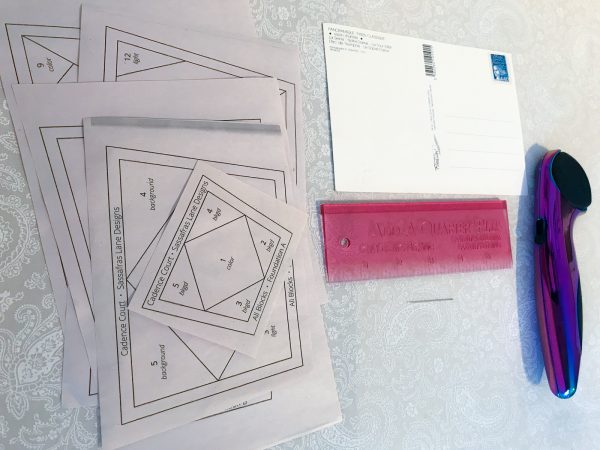
Supplies:
Foundation Paper (I use newsprint cut in 8 1/2″ x 11″ sheets)
Paper Piecing Pattern
Fabric
Rotary Cutter
Large Postcard
Add-A-Quarter Ruler
3″ x 12″ or 6″ x 12″ Ruler
Needle – I use a fine needle with a small eye, find a low-profile almost flat needle
Coordinating Neutral Thread
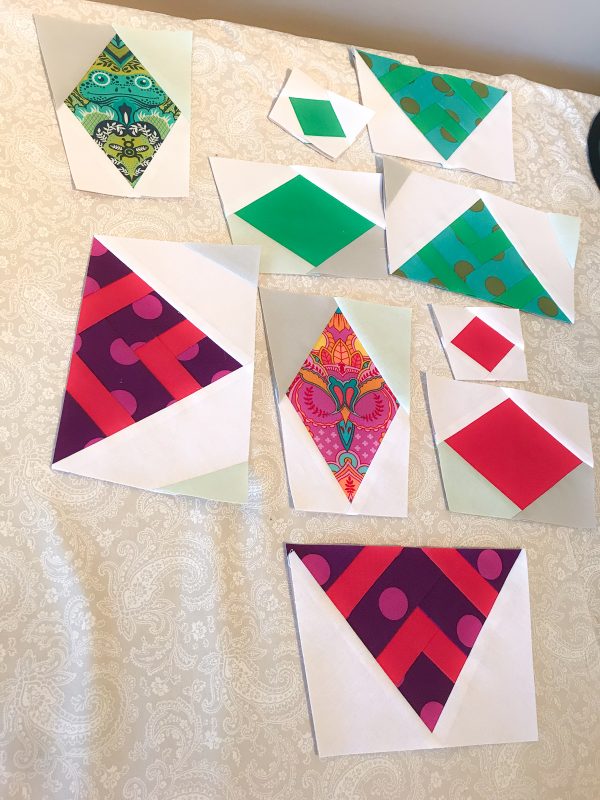
I was working on my Cadence Court Quilt Top with Tula Pink All Stars when I took these photos:
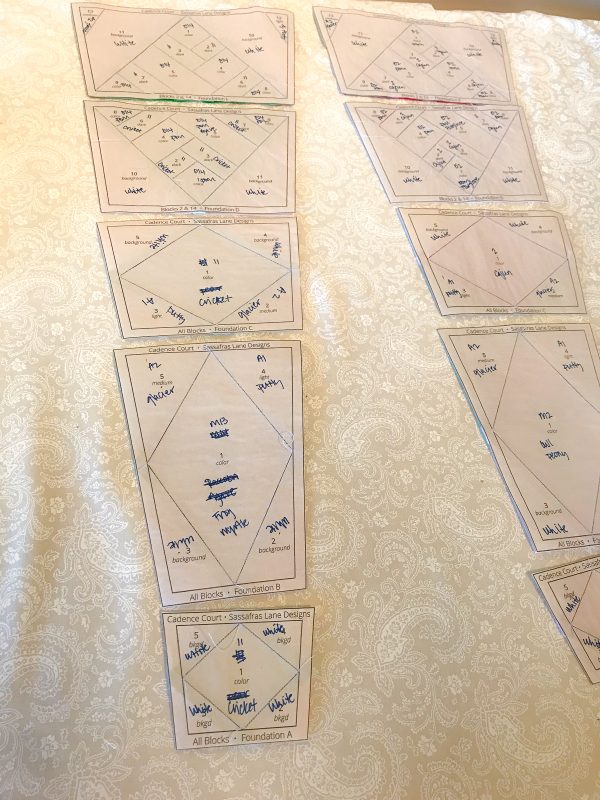
Before you can start you need your Foundation Paper Piecing pattern transferred to foundation paper. If it’s from a book, you will need to photocopy the pattern to the newsprint, or if in PDF format, just print.
Once you have all of your supplies ready, figure out what size fabric strips you need to cut – cut these pieces before you start, it will be easier and faster.
For example: If my finished block is 4 1/2″ wide, if I cut a 5″ strip of fabric, say 1/2 yard of fabric by 5″, that should be enough to cover the desired template area, plus overage past the edge of the newsprint when trimmed down. You don’t want to see newsprint when finished – that means there isn’t enough fabric for the seam allowance!
You will get better with practice, but know that angles are trickier to determine over straight lines, and if your section is a triangle, it will be reversed when ironed, and be off by 1/4″ due to seam allowance. If unsure if you have enough fabric – go bigger. It’s better to have extra than not enough and rip out and try again. Ripping out also significantly reduces the newsprint stability and lines may not be straight anymore.
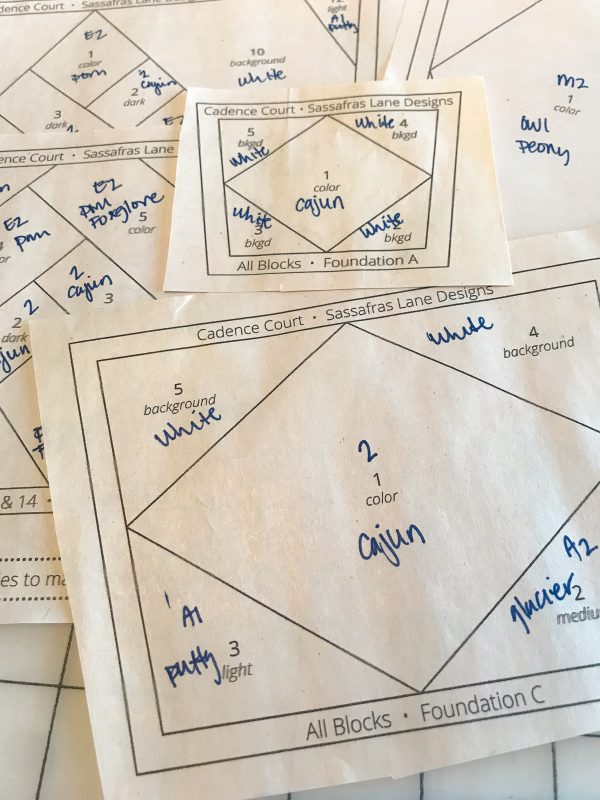
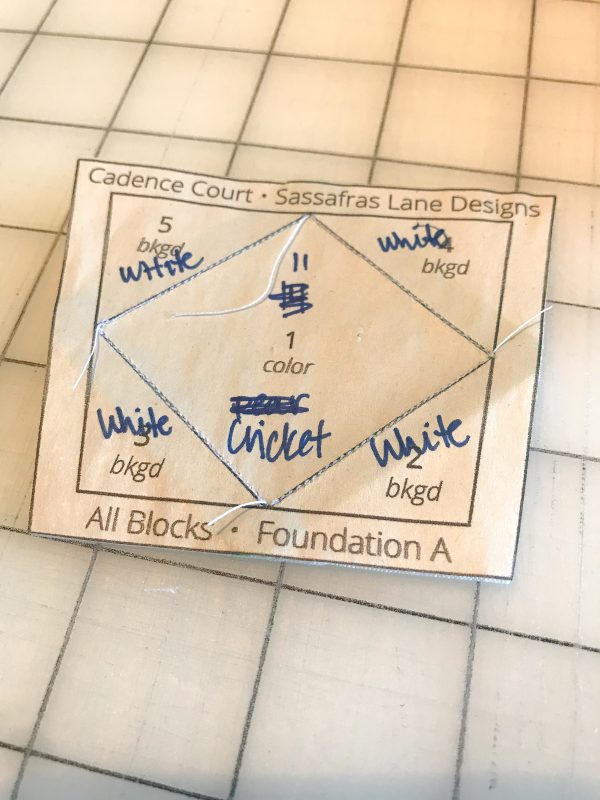
My next step is to separate all the pieces of the block, and label where each fabric will go. This is the back side, the front side will be reversed. But it will be easier as you sew through the block if you have the entire block labeled in advance.
Then begin with number 1, in this case the fabric is Cajun.
Align the fabric on the paper pieced block section and put a needle through the center of number 1. The most important factor here is that Cajun needs to extend past all of its borders – in this case the center diamond – at least 1/4″ in each direction. The way this is set up is plenty, but a smaller piece would also work.
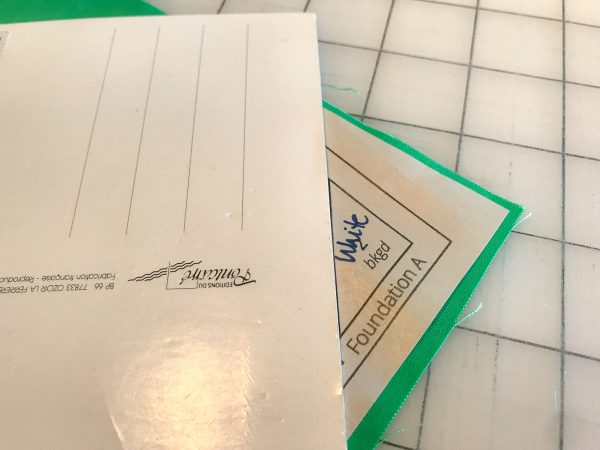
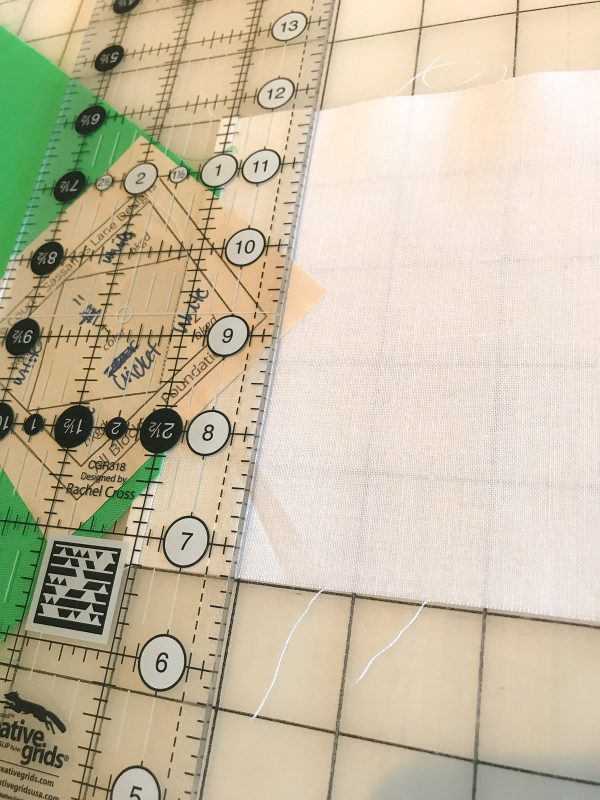
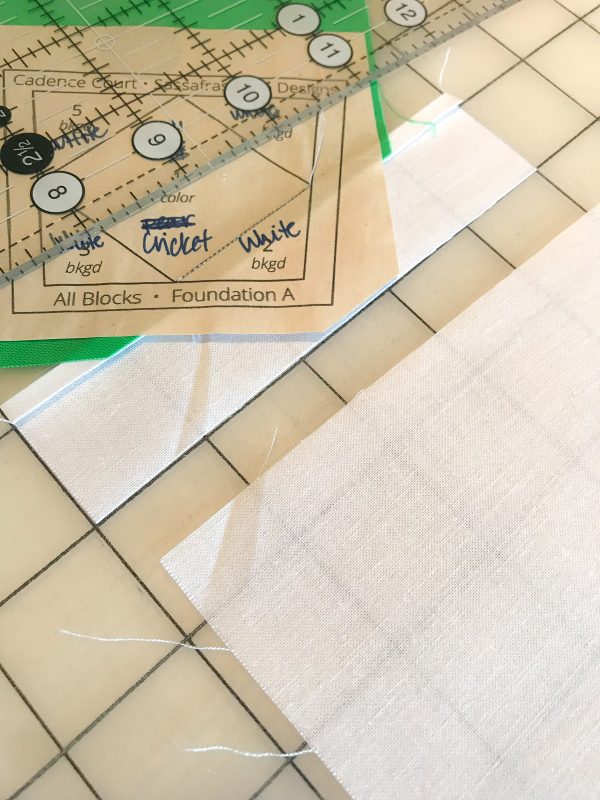
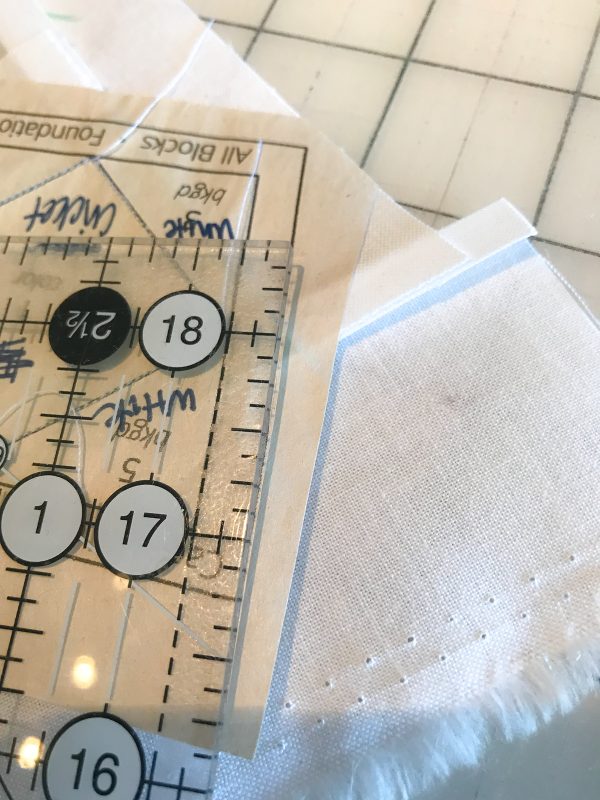
Now take your postcard and place it on the line dividing 1 and 2. Fold the paper over the postcard, add your Add-A-Quarter Ruler to the edge of the postcard, and trim. This is where you line up fabric number 2, White. See the next 4 images:
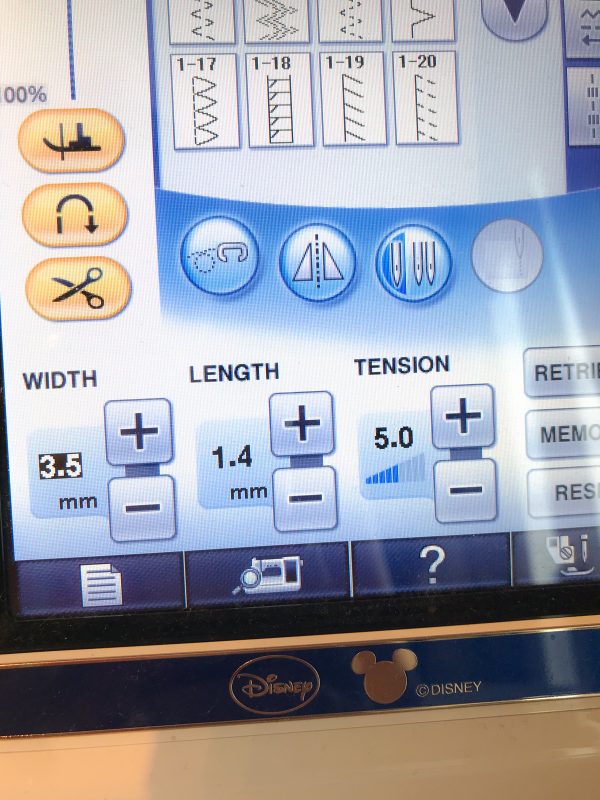
Next: Change the seam length on your machine. I use 1.4 for the length, but your machine may be different. The main thing here is to have enough needle pokes so that the paper will be easier to tear away, but not too difficult to tear out if you need to.
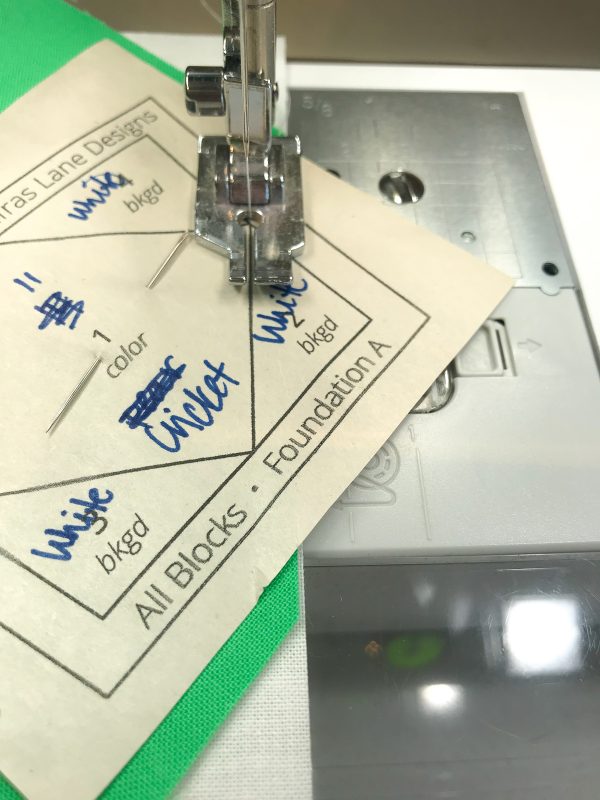
Now align the White fabric along the Cajun line. Flip over and sew ON the line. I start with one stitch forward, one stitch back, one stitch forward – to lock it in, and then continue to the end of the line. And then I backstitch one stitch and then forward again to lock it in, then cut.
Then iron the White back.
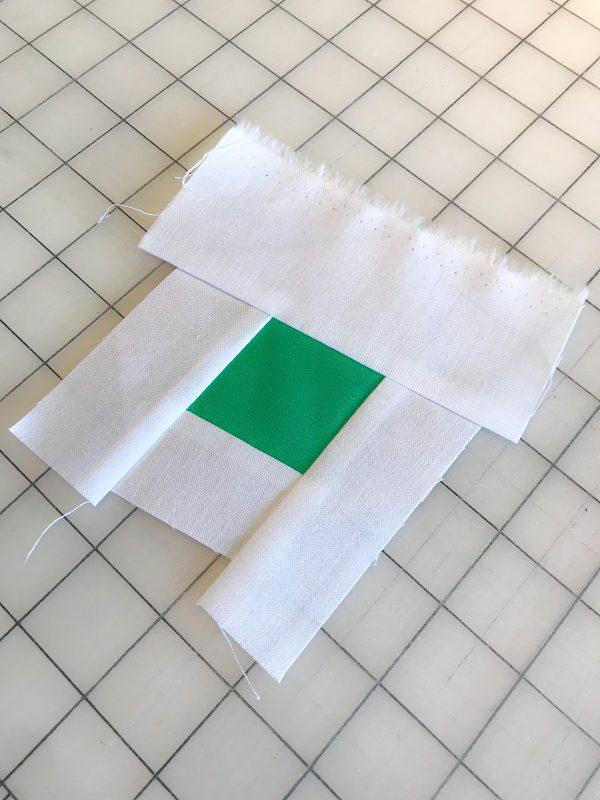
There is a lot of White fabric left over so I will trim it down so it is a straight edge and continue. Next is section number 3: do the same as with section number 2 and continue until you are done with this block (next 4 images):
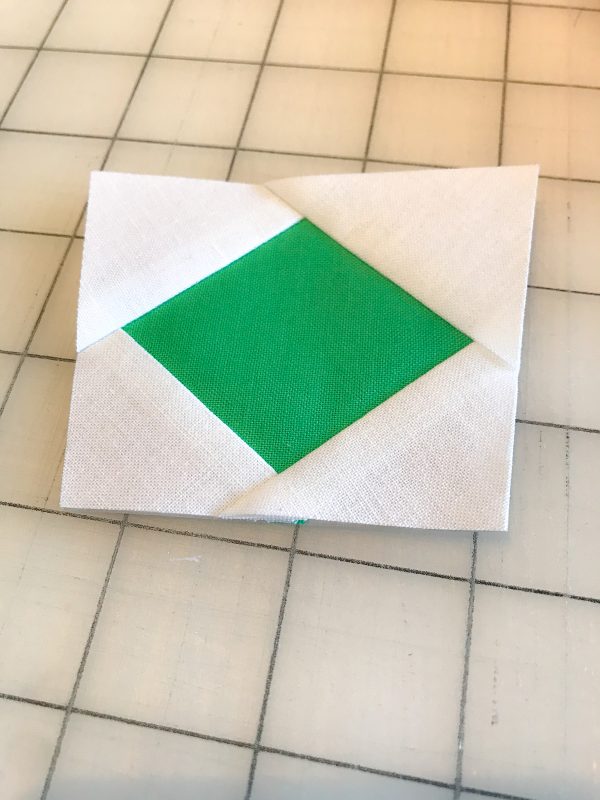
When you are done with this section, trim down to the edge of the block:
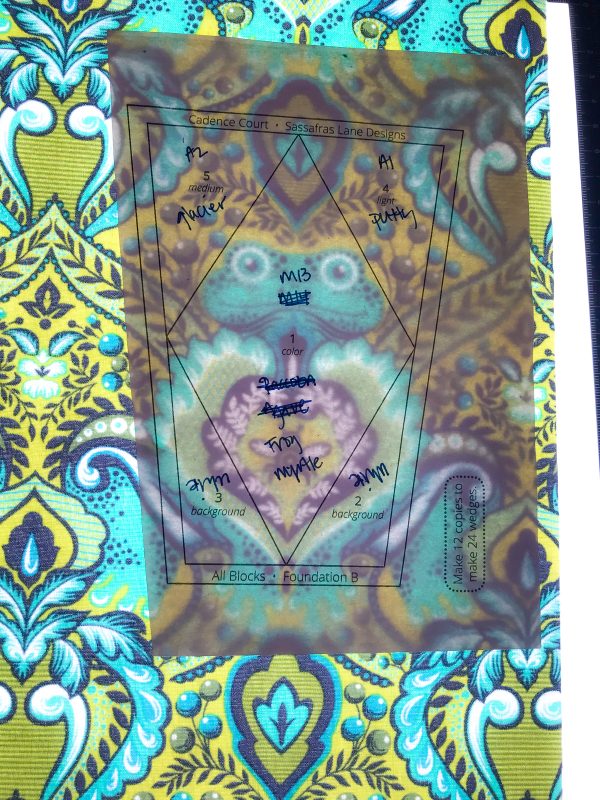
Continue the same steps as above for the other pieces to make the complete block. For the focal point of this block, I have a Prince Charming Frog. I would like it centered in the diamond so that it looks nice and planned when finished, not just any part of the fabric. For this section, I am going to take my paper and fabric over to the light table and determine the exact placement of the fabric – and pin it in place. Then I will continue with the rest of the pieces.
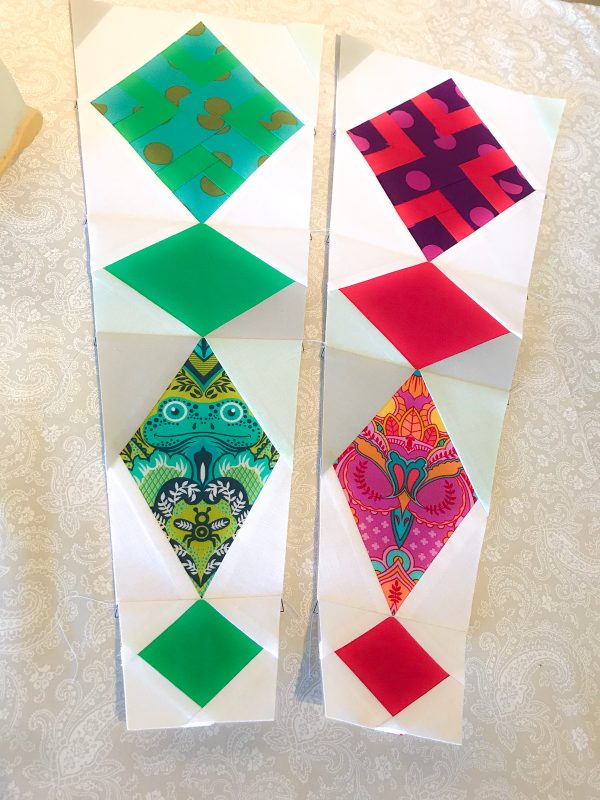
After all the pieces are complete I am ready to sew the block together – in this case it is a wedge with 5 different sections for one complete piece. So I will follow the directions in how to piece them together, A through E, and sew ON the 1/4″ seam line to connect them. I iron my seams open when finished and tear off the newsprint that I just sewed – JUST the 1/4″ piece that is no longer needed. I will keep the rest of the paper intact until I put the whole thing together.
Once I have all 5 pieces sewn together the block is done! Save it in a safe place until you have finished all paper pieced blocks for your quilt and can sew them all together.
I hope you have found this tutorial helpful – and are motivated to try a new paper pieced project!
Some of you may be wondering what this fusible grid is that I keep referring to (and have listed in the supply list and patterns), or asking if it’s necessary to use when you could just sew the small squares together. The answer is no, it is not necessary, but the results do turn out better in the end. The reason is because it provides a solid, stable base when sewing the small squares together in rows, and sewing the squares together separately (standard piecing) the bias from the fabric comes into play, even though they are cut as a square – they are very small!
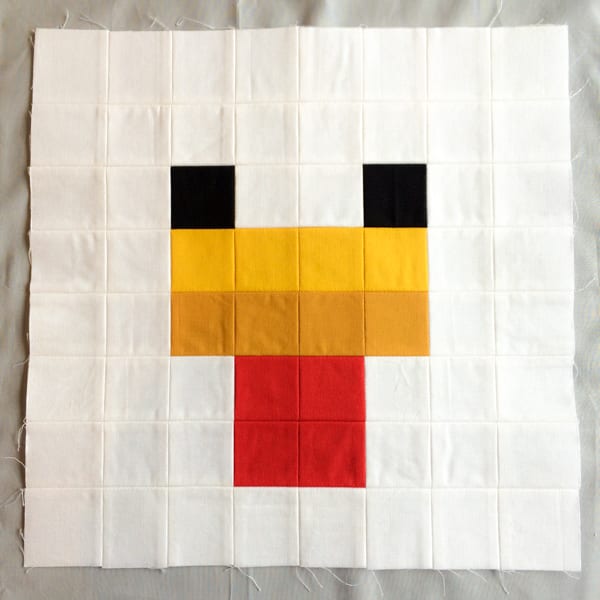
Take a look at these 2 images: The top image is my Minecraft Chicken Mug Rug top, sewn together without using fusible grid (and slightly smaller squares). The second is the quilt block using fusible grid. The white background helps the outer squares blend together, but you can see in the beak and tongue areas they don’t always line up exactly in the mug rug; using the fusible grid below it turned out much better.
So here is my method of using fusible grid to make the Minecraft Quilt Blocks. What I found at my local quilt shop was QuiltFuse 2″ fusible grid HTC-3240-White, 48″ wide:
Step 1:
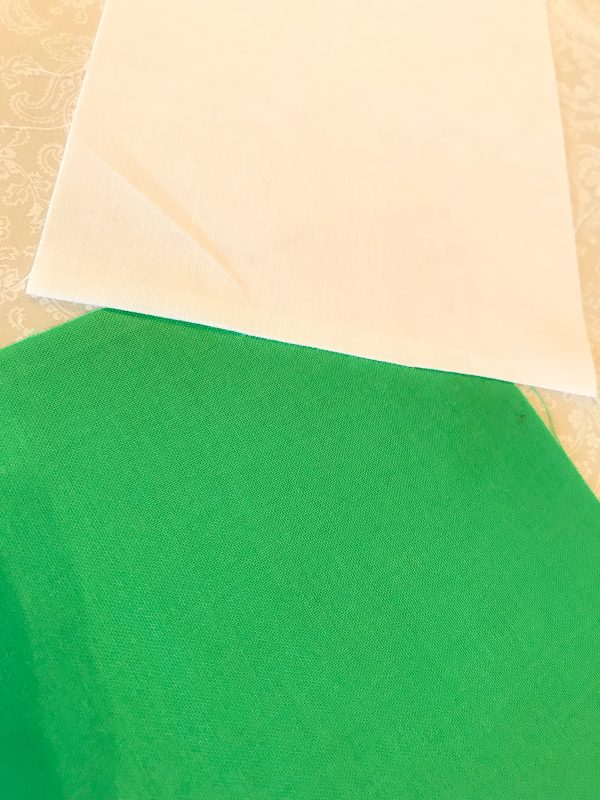
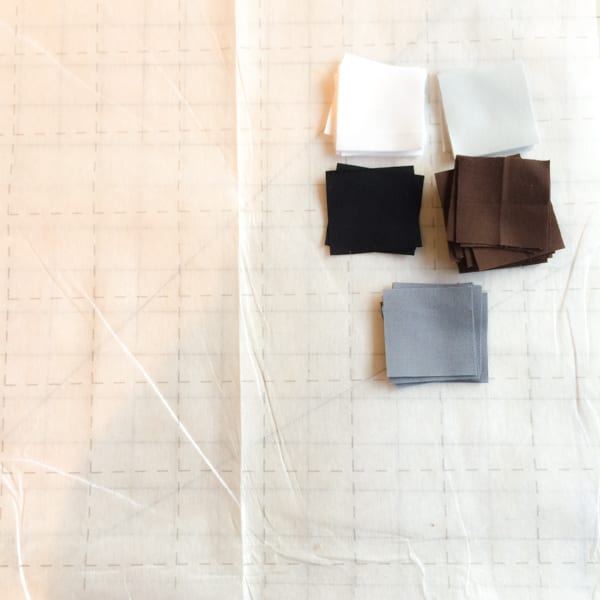
Cut out the squares for the block, and the piece of fusible grid you are going to use – just cut on the grid lines and make sure you are only cutting through one layer. (There wasn’t much left on the bolt so they sent it home with me, it was folded double on the bolt).
Step 2:
Assemble the block squares on the grid, edge to edge. It should be close to the grid lines on the fusible fabric, but it may not be exact. Take your time to cut your 2″ squares exactly and you should be okay.
Step 3:
Iron all the squares in place on the fusible grid – glue side up, grid side down – hot iron, no steam. The glue isn’t that strong and the pieces may fall off before you are done sewing every row. That happened to me at least once every block, just make sure to iron that piece back into place and be careful moving the block back and forth to your sewing machine, ironing board and cutting table.
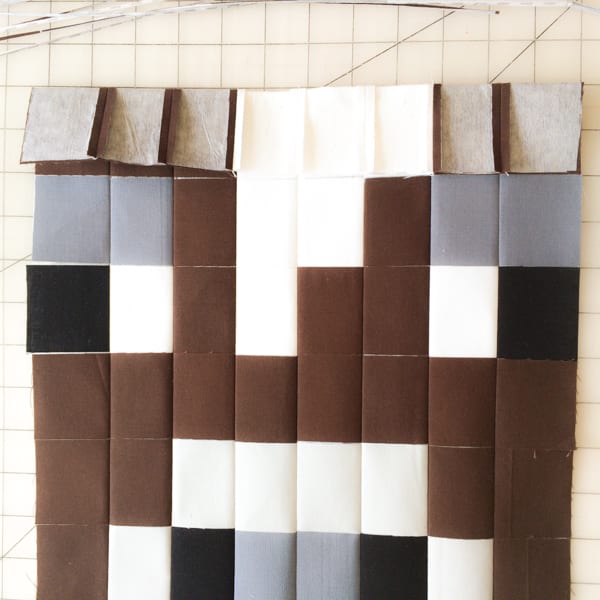
Step 4: Fold one row or column over, i.e. column 8 folded over onto column 7 and iron flat, like this:
I have found that the grid is a little slippery when sewing, so it is helpful to have a quilting glove on the left hand while I sew the 1/4″ seam to help guide the fabric through uniform and straight.
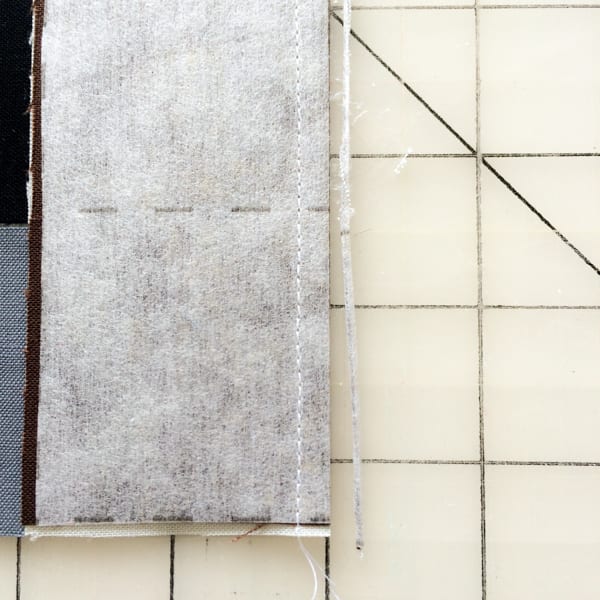
Step 5: Sew 1/4″ seam to connect these 2 columns:
Step 6:
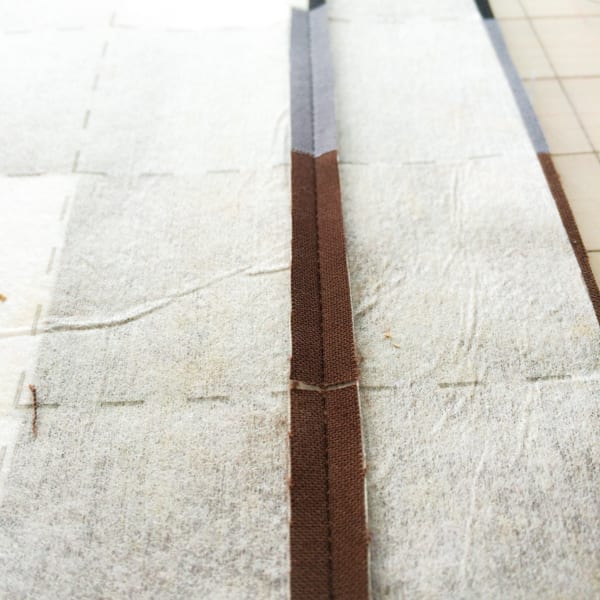
Cut off just the edge of the fold, just enough to allow you to iron the seam open:
Step 7:
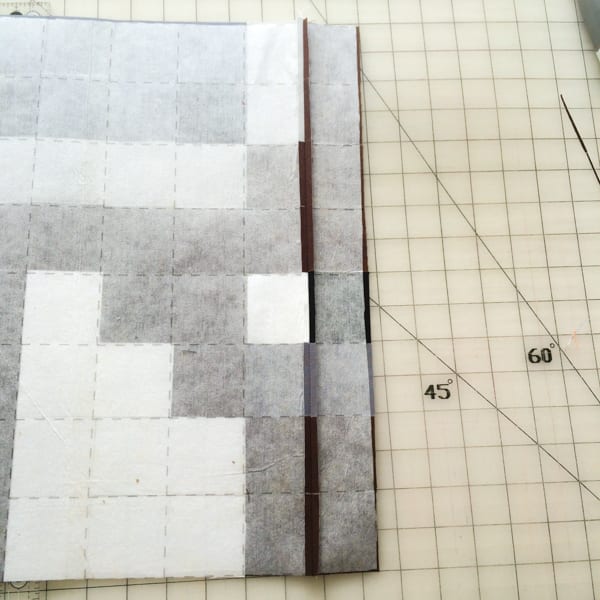
Fold the next column over and iron flat, column 7 folded over column 6:
Step 8:
Sew another 1/4″ seam and cut off just the fold. Iron open.
Step 9:
Repeat this process for the remaining columns.
Step 10:
Rotate the block and fold the top row down over the second row:
Step 11:
Iron flat and sew 1/4″ to combine these two rows:
Step 12: Cut off just the fold and iron seam open:
Step 13:
Repeat this process until all rows are complete:
Step 14:
Your block is done!
As you can see with this finished Minecraft Cow quilt block, the squares line up nicely, even if sewing it together using the fusible grid wasn’t the fastest method, or even the easiest. But it’s done, it’s solid, and it looks great!
I would love to hear if the fusible grid worked as well for you as it did for me, and share your blocks with me – find me on Instagram @myrainydaydesigns and use the hashtag #MinecraftQAL.