I have been doing several new designs on Kitchen Towels lately, some with big, dense designs, others with a lot of text. Some also have appliqué designs with Vinyl or Fleece. Sometimes I wash them to get the back of the wash-away off, and see how they come out of the dryer. They aren’t always so fun when you first see them out of the dryer – but don’t fret!
For my kitchen towels, I primarily use a towel that is 100% cotton – though I have been trying new versions for more variety in texture and color. But this post is about the 100% cotton towels.
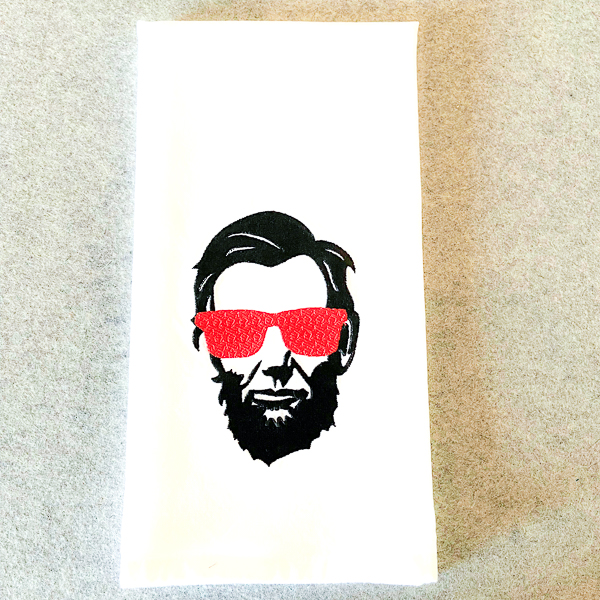
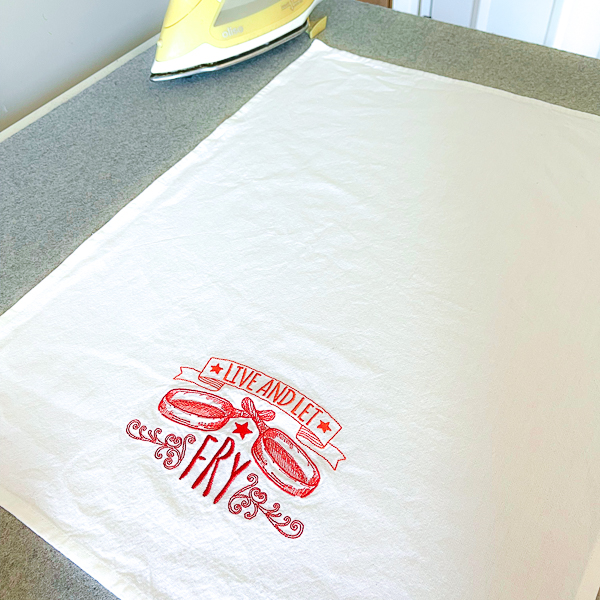
I have photos of two examples below – one with a very dense Lincoln face, the other with a fun, less dense but still scrunched up Live and Let Fry. And as you’ll see, in the end, good as new.
They look a little scary coming out of the dryer. Most of the time I just do a quick iron to the front of the towel, straighten out the edges and the corners, and we’re good to go.
In these instances (as shown below), I start by ironing the design on the back of the towel – iron set to cotton with steam on.
Iron the design portion on the back, maybe a little more if you want, but I stay in the middle of the towel so I don’t iron the hems on the back. Then, I flip it over, iron the front, the edges, the corners, and we’re good!
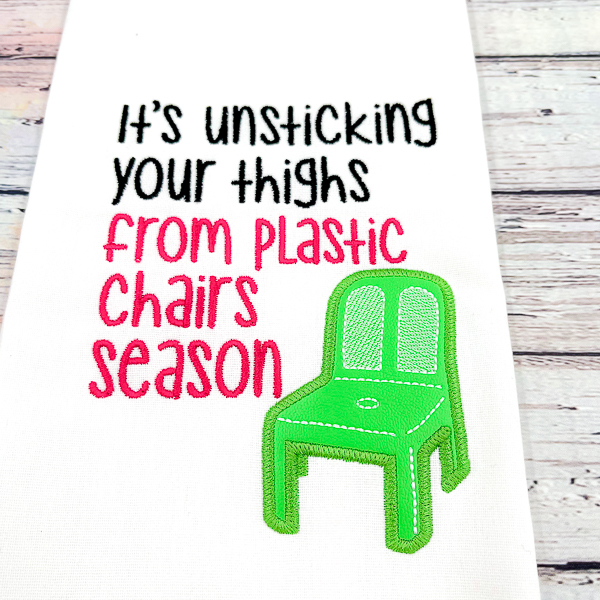
REMEMBER: If the design has vinyl on the front, like the green lawn chair below – DO NOT iron the vinyl on the front. You can iron the back of the design, just keep the iron moving so it doesn’t melt the vinyl. Sometimes I also use fleece, such as the clouds below – I would probably still iron the back of the design on this one, but I’m less concerned about the iron melting the fleece.