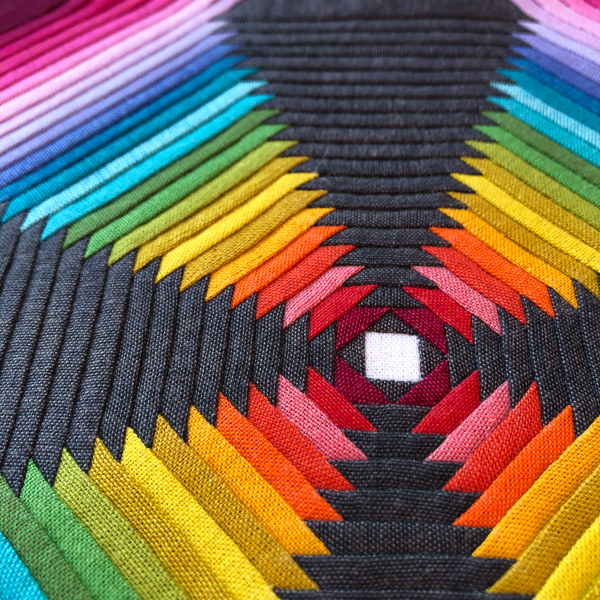
I didn’t post the second half of the blocks or the completed top! I had finished the 8 required blocks, but 9 was in my final plan. Other things kept coming up so I was rushing until almost the last minute to try to finish the final block and put them all together, so of course there were many issues. I probably would have changed a few things, but I don’t think I want to rip out and do it again.
My center block was not in the Mini Series, but I think it ties in perfectly. My biggest frustration was that even though all of these blocks were to work together for the series, the finished size of each block is different. So even though I created the full size of each block, they all have a different color count, and different finished size. Frustrating, but able to go back and delete the outer edge and sew on a new, fatter edge. It’s not perfect, but it is done. I think it was raining outside that day so the indoor photo isn’t great. Will try to get a better one when it is DONE done.
Have you seen the Alison Glass / Guicy Guice Mini Series Sew Along? We are halfway done this week and I wanted to share. I did find one problem last night that you will see below, but I should be able to fix it.
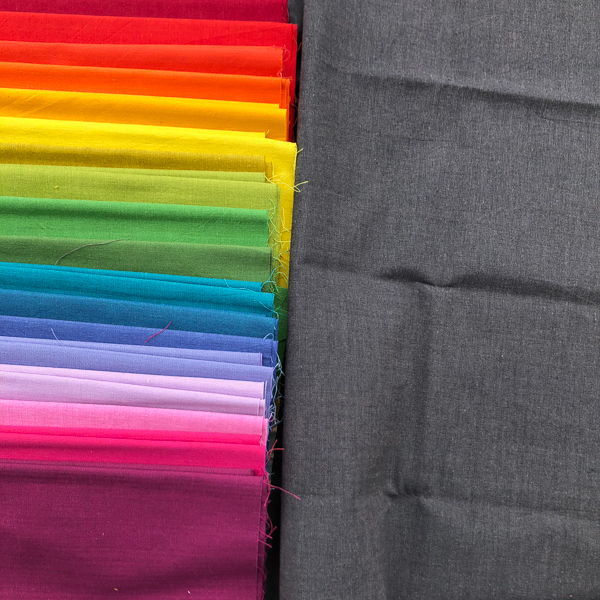
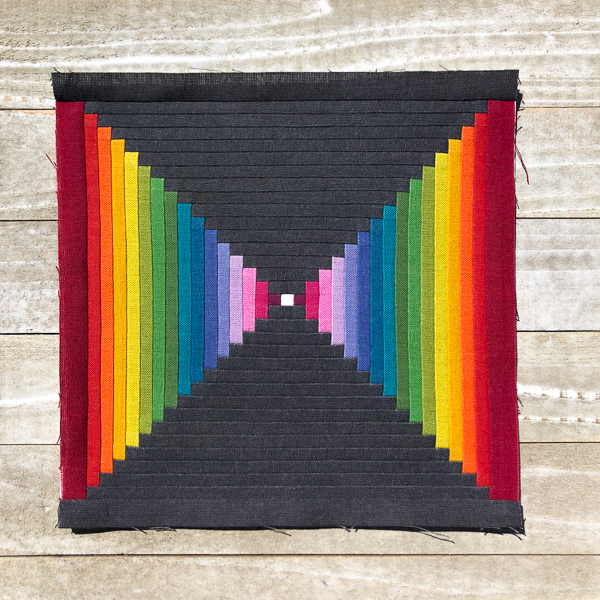
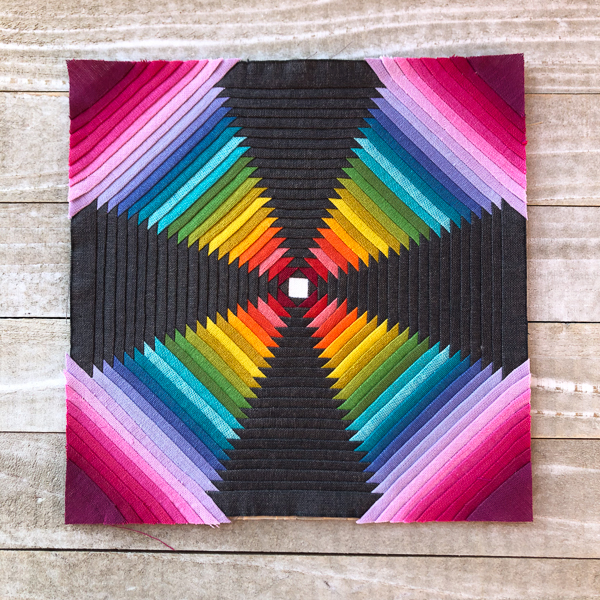
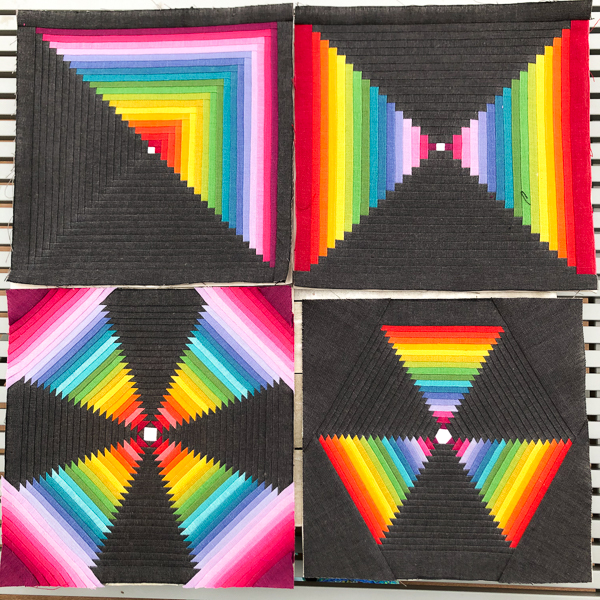
I am using the Alison Glass Kaleidoscope fabric collection again, the same one I used for the Trinket Quilt. What I have found so far is that when I planned on a set of colors, each block has a different number of colors, so each block is a little different, and I start from scratch with my colors each time – but Kaleidoscope has 40 colors so it works. You can make the blocks to be any size – I chose to make them full size.
The first 4 Blocks are the Log Cabin, Courthouse Steps, Pineapple, and Hexagon Steps.
Photos below – and find out more about this Sew Along here.
As you can see – the Hexagon Step Block is smaller than the other blocks – but I think I can fix it if I rip out the last 6 steps and redo them, and just cut it a little larger. I’m just not sure why the pattern was made that way.
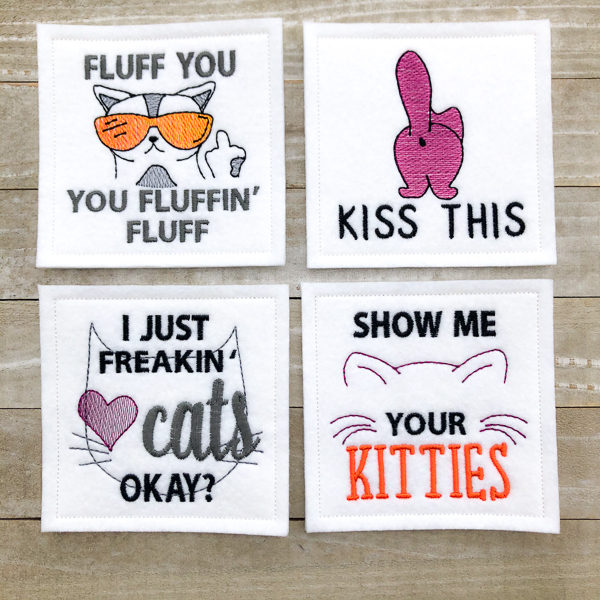
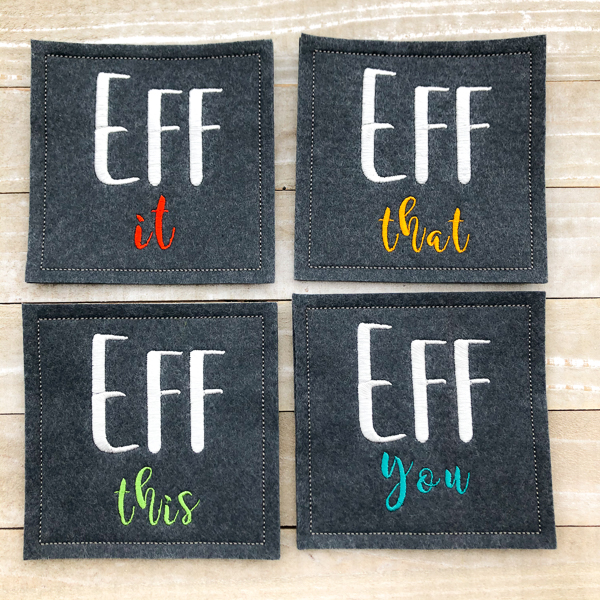
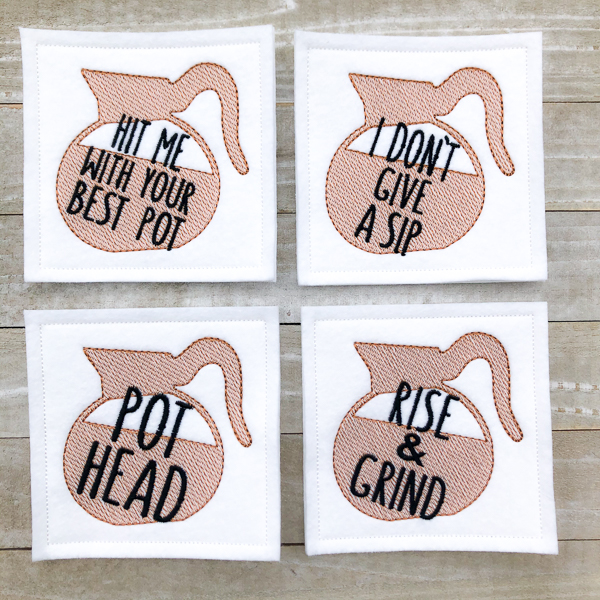
I have a lot of new Coaster designs and I decided I wanted to focus on making one thing – and that was Coasters. I like Coasters – they are fun to make and I came up with a way that it is all in the hoop so I just have to do some final trimming. I used to make the design and then sew them together myself. I like this new way better. Here are the sets available now. More to come! And if you are looking for a specific idea let me know and I will see if I can add that to the shop. Thanks and Happy Friday!
CattitudeEffCoffee TalkCoffee TalkReasons for Wine
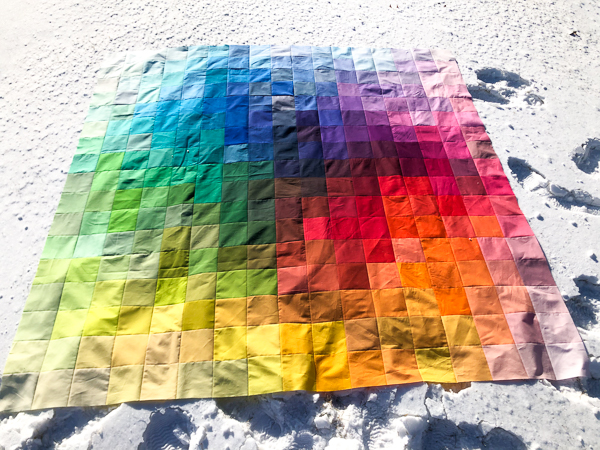
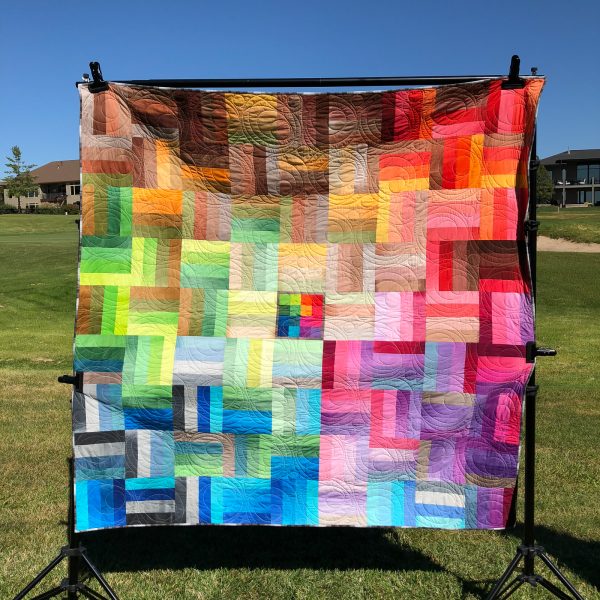
The Holidays were so busy and I was focused on so many other projects that my Kona Color Burst quilt top was in “half done” status for awhile. This weekend I powered through and did 2 blocks on Saturday and the final 6 blocks Sunday morning and sewed them all together. Finally done with the quilt top!
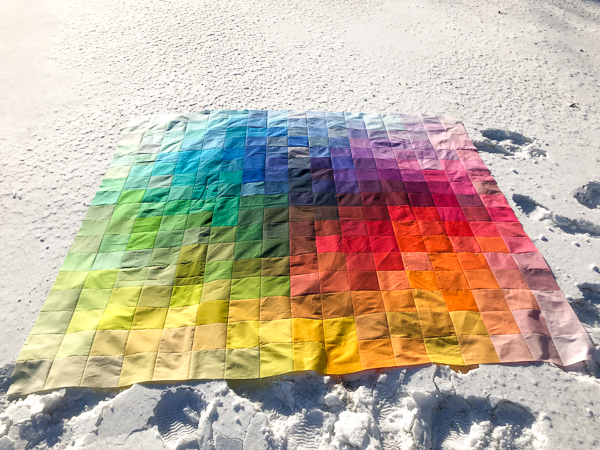
Then I ventured outside… It was “Feels like -11º” and very windy. I tried to get a shot of the quilt top on a serene white background – but instead you see my bootprints. You should have heard me yelling at the wind. These were the best shots I could get for now. I can’t wait until it is finished and I can try to get some better shots – and it might be warmer.
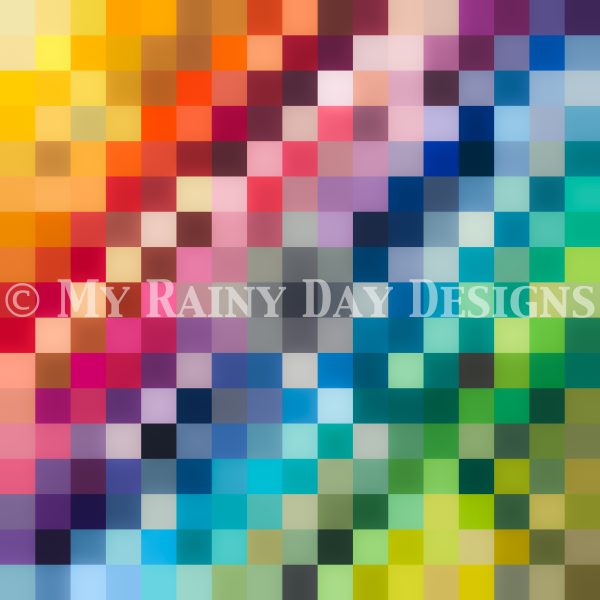
I cleared the board and started from scratch, with one colorful square at a time. I have been wanting to make this pattern for awhile, and with 365 colors to play with, it seemed like the right time. I took all the colors and a few neutrals, and built from the center out.
To make this easy, order one of each of the following charm packs, precut by Robert Kaufman Fabrics: Kona Cotton Pastel Colorstory CHS-692-85 Kona Cotton Bright Colorstory CHS-693-85 Kona Cotton Dark Colorstory CHS-694-85 Kona Cotton Neutral Colorstory CHS-695-85 Kona Cotton New Colors 2019 CHS-851-42
This pattern uses the majority of the colors, but just one of each. You will also receive a Bonus PDF on how I create my blocks, and my method for keeping them organized and sewing them together with the least amount of seams. And a new PDF with the charm pack color order and labels to print.
I made this with 5″ squares, for a finished size of 76 1/2″ x 76 1/2″.
I just finished something I have been working on for a while now – my Floriani to Madeira thread conversion chart. I have several designs that call for Floriani thread, which I don’t have. I use Madeira Classic Rayon #40 and a few of their other lines. I have all 7 boxes of the Classic Rayon #40, plus one box of the PolyNeon #40 – meaning I used as great a range as possible with Madeira for the best conversions.
When working on designs with up to 40 different thread colors, such as a State design, it took a long time to try and convert the called for Floriani thread color, match it up to the Floriani Color Card that I have, and convert that to Madeira – each time. One reason why I have only finished 5 states so far!
So I decided to start from scratch, go column by column for the Floriani Thread Chart, and convert it to Madeira the best I could. This is not a decisive list, more of a suggested starting point. You will notice that some of the Madeira thread colors are duplicated because I couldn’t get a different Madeira thread color for each different Floriani thread color. And as I have with the States, this is a starting point and the final Madeira colors used will likely change when you pull all the colors and see how they work together.
Not all are a perfect match, but I matched as close as I could. I kept searching for a good Floriani to Madeira thread color chart but couldn’t find one! My Floriani Thread Chart isn’t labeled with a version or a date, but has 24 columns of solid colors. I did not attempt to convert the variegated or metallic colors – just the solid color columns.
I hope this is useful to someone – as I kept searching for this and couldn’t find a helpful tool, I thought I would share my conversion chart as it could be helpful to someone else.
The file has been moved to my Facebook group. Messages for how to download the file without a thank you after I give a link make me wonder why I share. Requests for the password so they can change my work make me think they want to profit off my work. And at the time this was created (2019) all colors in the list were either on the card (Floriani) or in my hand (Madeira). I can’t control what either company changes – was just doing a color match.
I know I posted a couple weeks ago that the Kona Color Card Patterns were updated – but I updated them again! Two reasons: One, because I found Robert Kaufman’s charm packs to total all 365 colors and easily put it all together – I even have a PDF now with how they are sorted through the charm packs, top down. All you need to do is print the labels, label the fabrics and start sewing. Plus this makes the finished size even bigger and snugglier – I know that is what I am after, when we all try to share the quilt on the sofa for movie night!
And two: I moved one square of the Color Burst layout as I was sewing it together. And when one square moves, they all move. But this is it – no more moves, and it is almost halfway sewn together. I will have a Color Burst Quilt Top completed photo for you soon.
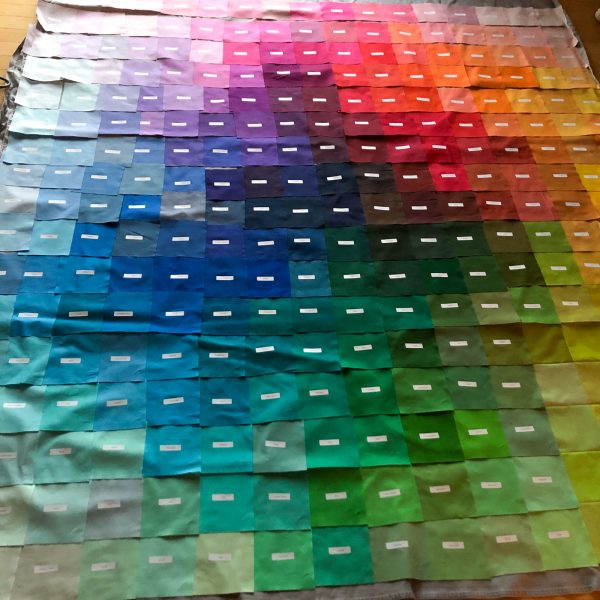
For now, below is my final floor layout and a photo of the bottom row sewn together. I am excited about it all coming together and what that will look like – definitely different than the computer version – but I had to start with something!
Find the Kona Color Card Pattern Set (x4) and the Color Burst Pattern here on Etsy. If you want to make one or more of these with the precut Robert Kaufman Kona charm packs, order one of each (per quilt): CHS-692-85, CHS-693-85, CHS-694-85, CHS-695-85, CHS-851-42. And 5 sheets of Avery 8167 labels. This Color Burst shown below will be just over 6′ square when finished.
As you may have heard, Robert Kaufman just released 25 new Kona Colors – yay! So I needed to update the Color Card Quilt patterns. I rewrote and reconfigured Color Card Versions 1 and 2, Color Order and Color Slide. I kept Version 3 as is, Color Shift because I like that version. And I created a new Version 4 Color Refraction – along the same lines as Version 3, but uses almost all of the Kona Colors. Plus I added a new embroidered label for Versions 1 and 2.
And then I created a blank slate and started again from scratch, square by square, to create a completely new version, the Color Burst. I have been wanting to create a version like this for a while, and with 365 colors now, I thought this was the perfect time. This version uses all of the Kona Colors and a few neutrals, and builds from the center out, darkness to light. I will be making this version with 5″ cuts for a finished size of just over 6′ square. I am excited about this one! I saw a Kona Charm Pack last night and immediately added it to my cart, and then thought about it and realized it was only the new colors, not all the colors I need – back to the cutting table.
See the previews below. I will start working on the samples and get the quilt top previews posted as soon as possible. You can find the Kona Color Cards Pattern here, and the Color Burst Pattern here. Thanks for visiting – I hope you are having a wonderful weekend and getting into the Thanksgiving spirit. Happy Fall Y’all!
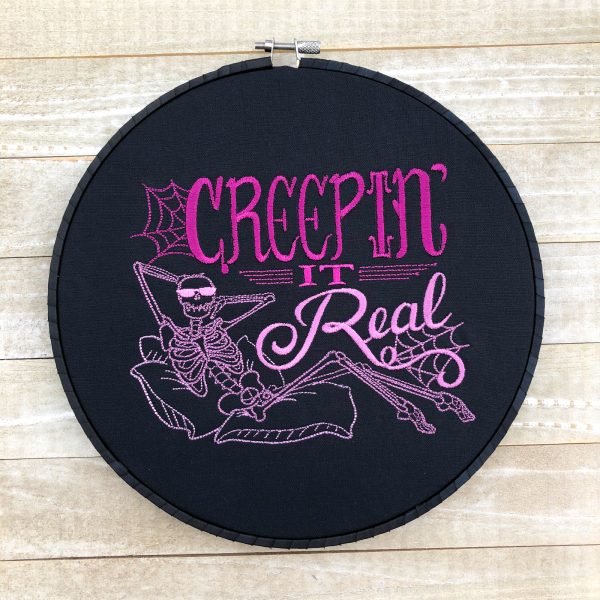
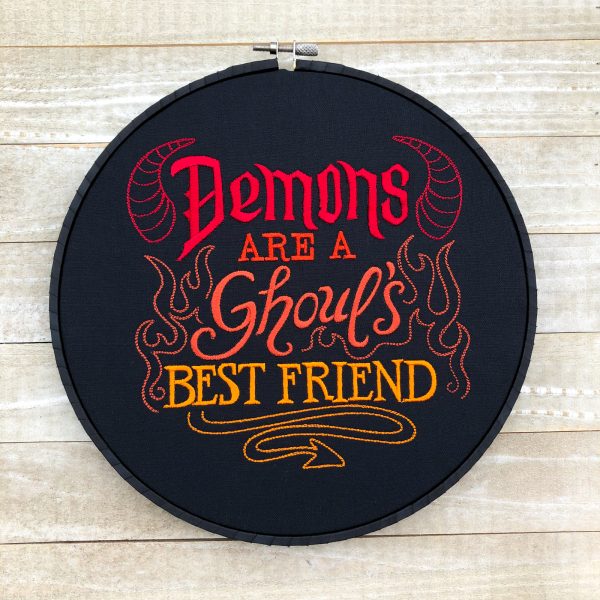
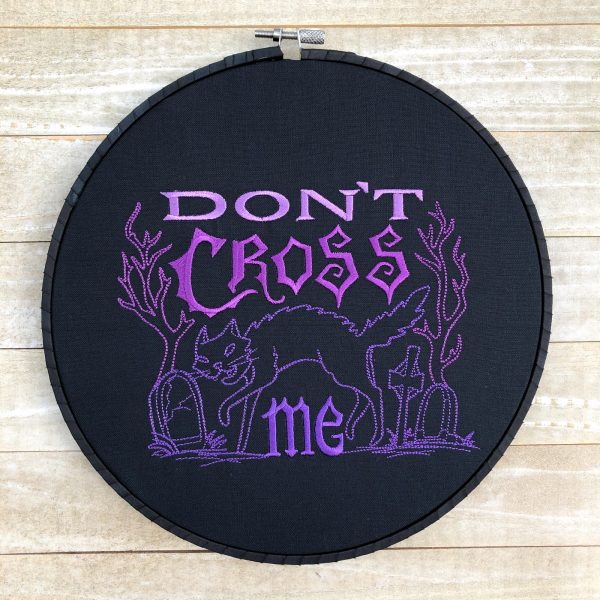
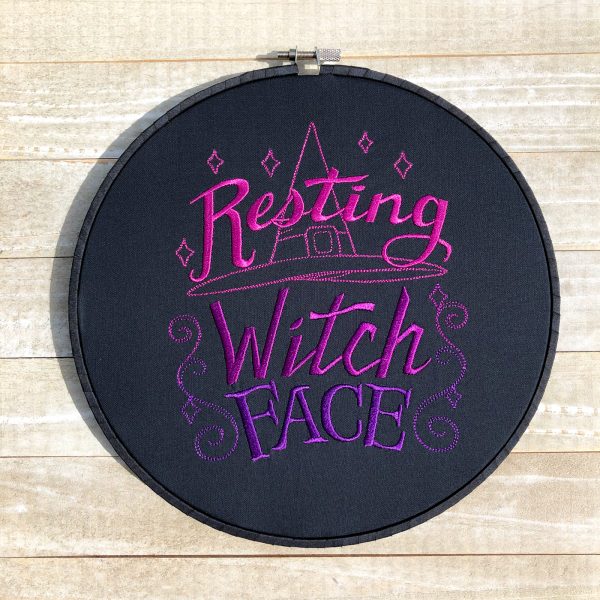
I finished up the first new set of Halloween Art this weekend: Supernatural Wit Halloween Hoops. Each piece is brightly colored on a dark background with a sassy phrase – what better way to get you prepared and in the proper mood for October?
I may have a plan to bring in a set of these to my day job and hang one outside of everyone’s door. I don’t know what will be left for me and my door, but I have an idea of where “Resting Witch Face” and “Watch Out I Bite” will end up. LOL – there is a lot of love in our office, and we all love the holidays. Looking forward to the First Day of Fall and all things festive through the end of the year!
Which reminds me: A couple of years ago I was driving through town and looking for my destination and I turned the corner, saw a sign, and started laughing so hard. I told my husband to take a picture for me but he was too slow. The sign in question was an Auto Shop. The sign: “THEY’RE BACK! PUMPKIN SPICE OIL CHANGES!” Best Pumpkin Spice Sign Ever. I still love it.
Each image is clickable so you can get more information. Thanks for visiting and have a great First Week of Fall! #PumpkinSpiceEverything
Happy Monday + Happy Labor Day! I hope you are all having a good Labor Day holiday – and those of you on the East Coast stay safe!
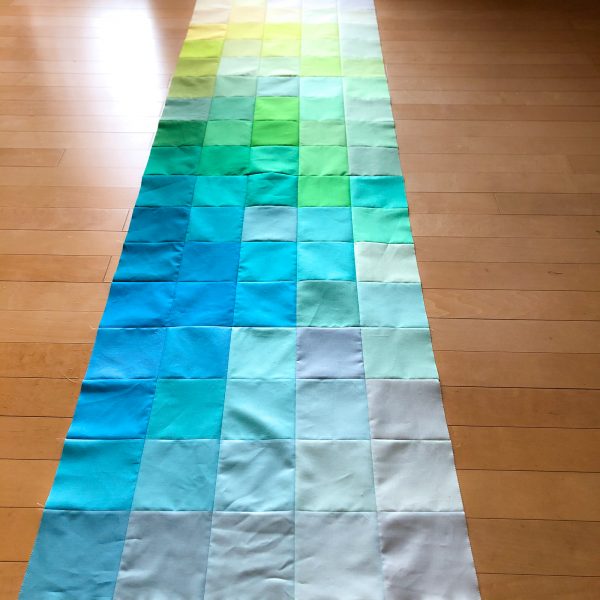
Remember this quilt top I posted back in 2015 that I made for a class I was going to teach?
I had it quilted and finished it last summer. The final version looks like this:
Then I made another version with different ombré fabrics and the finished top was completely different. This is the Version 2 quilt top I shared on Instagram in February:
I finally figured out how to write the pattern, and I finished it and posted it on Etsy.
PLUS I have a Labor Day sale through today. A great time to grab a new pattern and a gift for yourself – or some early Christmas Shopping!
Have a great day everyone – I am off to see my quilts at the State Fair!
I entered my first Fair! I saw an Instagram post that the Lincoln Modern Quilt Guild posted about quilts being entered into the local County Fair. I had a couple days to decide, and I decided I would be able to finish one in time, and I had three I wanted to submit. I filled out the form, finished hand sewing the binding on the largest one, and dropped them off a week ago. I haven’t entered a quilt show or Fair or anything else before, so I was a little nervous about leaving them behind – they took so long to make and so much went into them – in the way of fabric, and time and trial and error and skill learning, and custom quilting! Judging was to be done the next day before the Fair opened.
Fast forward to Saturday and we went to the Fair, with Demolition Derby tickets for that night. We wanted to arrive a few hours early to look around the Fair at the activities and see some events, and go check on my quilts that I dropped off. We finally made it over to the room where the quilts were displayed and I saw Minecraft right away – with a tag with my name on it! I turned around to see my Gravity quilt, larger than life and bold in color – and I excitedly said “that’s mine!”. I took a photo of Minecraft on display, one with my son in front of Minecraft (it is his quilt…) and I waited for Gravity to be clear.
I walked over to my Gravity quilt and saw the white tag with my name on it again – and under the white tag was a red ribbon – 2nd Place for the Bed Size Quilts Class! I’m not exactly sure how the ribbons work with the Class being Bed Quilts and having 12 subclasses, but I was so surprised – and happy – to see a ribbon attached!
I was talking with the Lincoln Modern Quilt Guild Rep that was there about how excited I was to have a ribbon, and my husband took my photo – I asked if I could hold up the ribbon while he took the photo – she allowed it only because it was my quilt. You are not allowed to touch the quilts! I didn’t touch any but my own. And then I said I had one more entered that I hadn’t found yet. I turned to the next section and I found my third quilt entry – the Small Quilts Class – and I entered it into the Embroidery category. Under the name tag on this quilt was a blue ribbon! I couldn’t believe it – two ribbons and one of them was blue! I received a First Place Blue Ribbon! I was hoping Gravity would get me some positive feedback, as I worked really hard on that one and I thought my piecing was pretty good, and the quilting is beautiful (Thank you Teresa Silva: Quilting Is My Bliss). I was not expecting a blue ribbon for the Embroidery Panel quilt – but I am so happy I received it!
We talked about how they had a National judge come in who gave some really specific feedback (looking forward to and a little scared of that). And we talked about the Lincoln Modern Quilt Guild – my husband basically signed me up on the spot.
For now, I’m just very excited that my first quilt entry was a success. I did not expect to receive 2 ribbons but I am very happy. I am looking forward to having the quilts back home. And the ribbons.